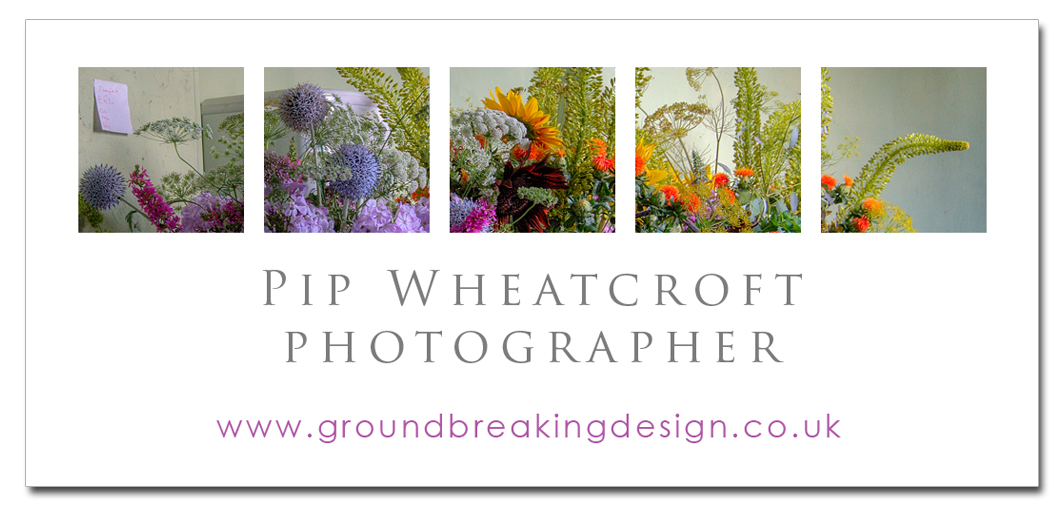
This involves quite a few steps and if I tell you I'll have to kill you.
So fasten your seat belts, or preferably buy yourself the highly recommended Scott Kelby Adobe CS4 Book which it comes from.
You have to have a picture in mind that you're going to use, that'll work as a 'banner crop' or letterbox shape.
Make a new, blank document. I made this one 9cm x 6cm at 300dpi.
Add a new layer.
Drag a small square with the Rectangle tool, I made mine 1.4cm square. Holding Shift as you drag keeps the square square, if you see what I mean.
Press D to set foreground to black.
Alt -Backspace fills the square black.
Press Ctrl-Alt-Backspace brings up Free Transform, then drag the square copy over to the right. Holding Shift keeps it in line.
If you do Window>Info you can see the size of the square you are making.
Press Enter to confirm.
Press Ctrl-Alt-Shift-T for another copy. Repeat until you have 5 squares.
Centre the two layers by selecting both by holding down the Ctrl key and clicking both.
Then use V (Move) and select Align Horizontal Centres.
To add the picture, select the background layer. Then go to File>Place and select your picture as a Smart Object. Move it so its a bit larger than the boxes. Press Enter to lock.
Drag your photo to the top of the pile of layers.
Then go to Layers>Create Clipping Mask.
You can still move around your photo to get the best position if required.
Then I put the text in.
This took me ages before I'd cracked it and the Scott Kelby book describes it in much better detail.
Happy Clipping Masks.


No comments:
Post a Comment